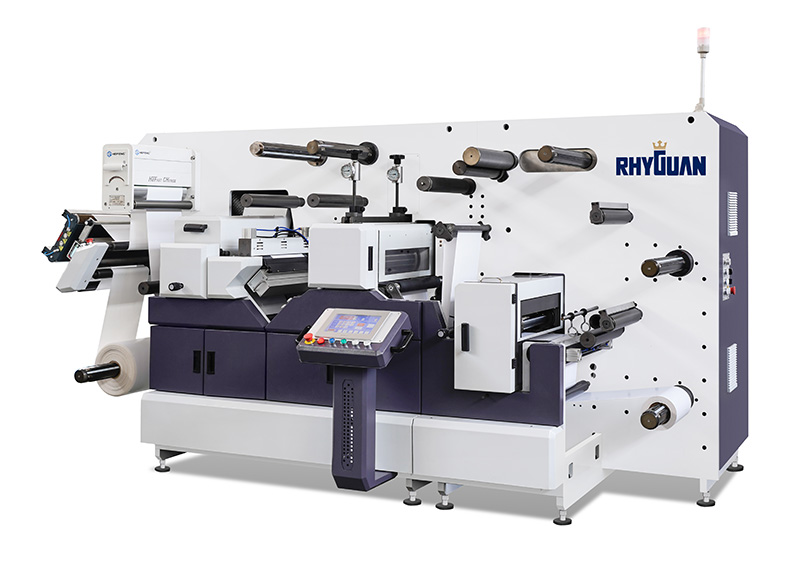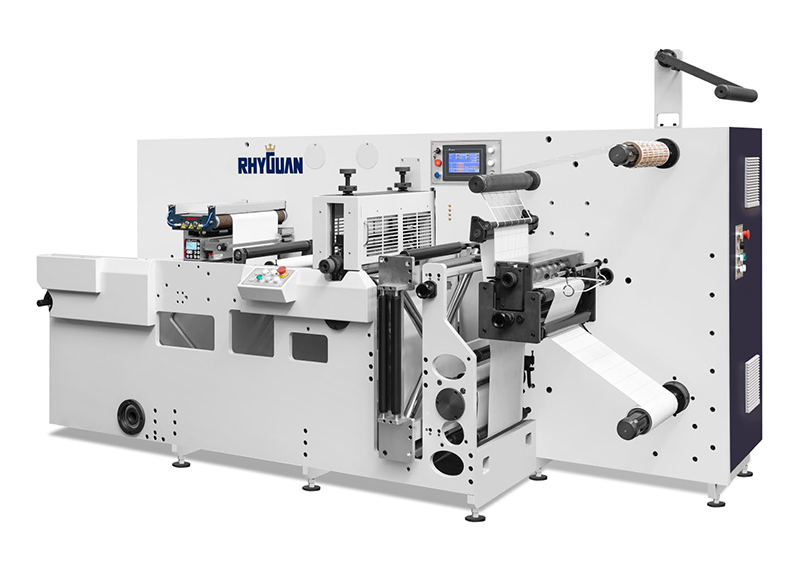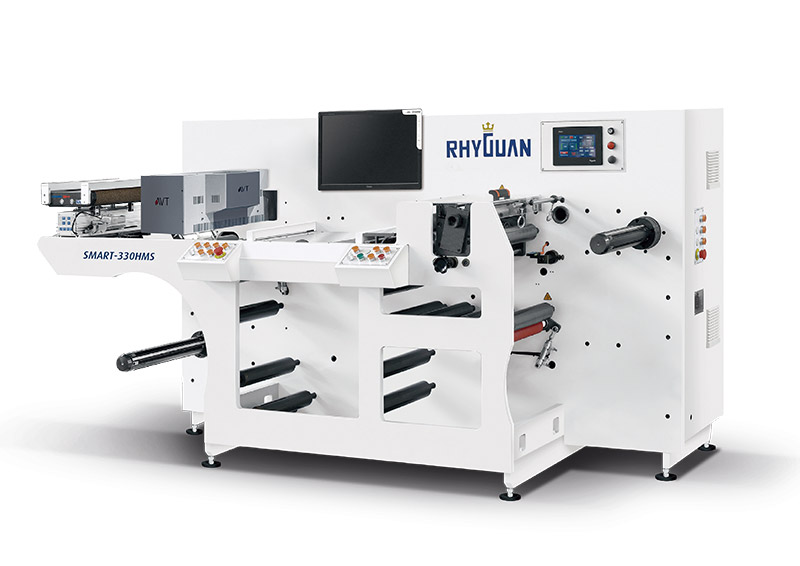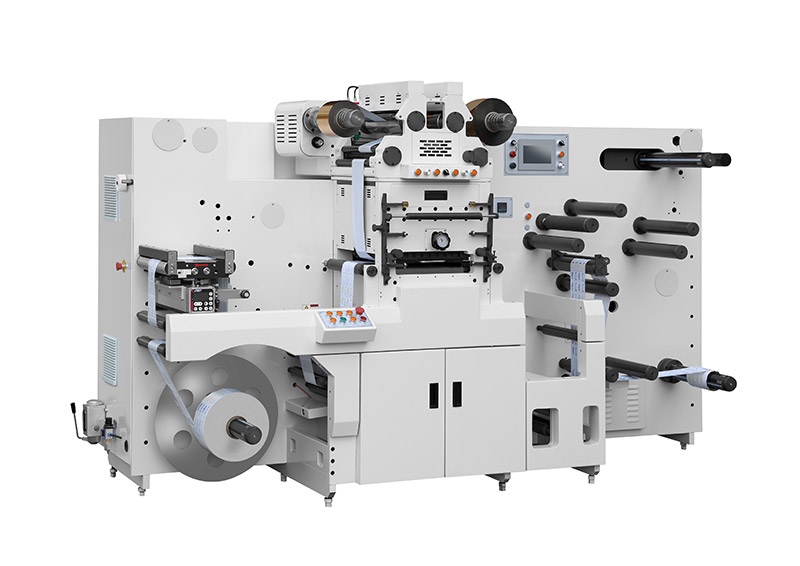
You have a new self-adhesive label job on the schedule. The design is approved, the material is on the rack, and the rotary die is ready. But the setup process determines everything—whether you run 10,000 labels with consistent quality or spend the shift fighting registration drift, adhesive buildup, and matrix tear.
For anyone in label production, knowing how key equipment operates helps with smart decisions—whether choosing tools or fixing small issues. The rotary die cutting machine is a core tool for efficient label shaping and finishing. This guide walks through the complete setup process for self-adhesive labels, with practical steps you can follow on the production floor.
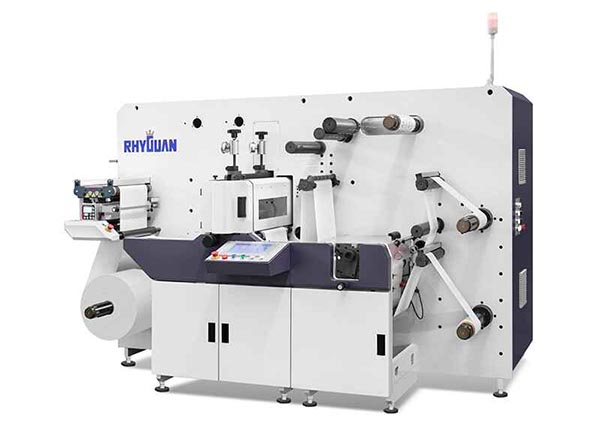
Before diving into the steps, it helps to understand what makes self-adhesive materials unique in die cutting. Unlike paperboard or film-only substrates, self-adhesive labelstock has three distinct layers: the face stock, the pressure-sensitive adhesive layer, and the silicone-coated liner that protects the adhesive until application.
The die cutting objective for most self-adhesive labels is kiss cutting—cutting through the face stock and adhesive layer without penetrating the liner. The liner remains intact, holding the labels in place on the roll until they reach the label applicator.
This means pressure settings are more critical than for through-cutting applications. Too little pressure, and the adhesive layer doesn't fully separate—labels won't peel cleanly. Too much pressure, and the die cuts into the liner, weakening it and potentially causing liner breaks on the application line.
For label converters running diverse die-cutting jobs, understanding how rotary systems handle different materials is a critical first step. See how rotary die cutting solutions are configured for various label applications
The setup sequence follows a logical progression. Each step builds on the previous one, and skipping any step invites problems downstream.
Before installing anything, inspect the die itself. For self-adhesive labels, flexible steel dies mounted on magnetic cylinders are the industry standard. The flexible die is a steel board with cutting blades welded on its surface, and it magnetically adheres to a cylinder containing permanent magnets.
What to check:
Examine the die edge for minor cracks or curling using a magnifying glass
If slight wear is detected, gently grind along the edge's inclined direction with a specialized oilstone (800–1200 grit) to restore sharpness
If cracks exceed 0.2mm, return the die to the manufacturer for regrinding
For new dies or those out of service for an extended period, wipe the edge and surface with anhydrous ethanol to remove oil and impurities
Why this matters: A damaged die will never produce clean cuts, regardless of how carefully you calibrate pressure or registration. Starting with a sharp, undamaged die is the foundation of the entire setup.
The die must be properly seated on the magnetic cylinder. The magnetic cylinder, together with the die cutter, rotates against an anvil cylinder, moving the label material through the cutting zone.
Installation steps:
Clean the magnetic cylinder surface thoroughly—any debris between the cylinder and die will create uneven pressure
Position the flexible die on the cylinder, aligning it with the registration marks
The magnetic force holds the die in place; ensure full contact across the entire die surface
Check that the die is straight and not skewed—even a slight angle will cause registration issues
For machines with semi-rotary capability, note that you only need one magnetic cylinder instead of one for every repeat size, which significantly reduces tooling inventory requirements.
The gap between the magnetic cylinder and the anvil cylinder is a critical parameter. This gap determines how much pressure the die applies to the material.
Key reference points:
In Europe, a system with a 0.480 mm gap between the magnetic cylinder and the anvil has been established
In North America, the system uses a 0.483 mm gap
These are starting points; the actual gap depends on your material thickness and construction
Adjustment principle: The gap should be set so that the die cuts through the face stock and adhesive layer but stops at the liner surface. For film labels, reduce die-cutting pressure to 70–80% of the standard pressure for steel dies to avoid excessive edge wear from over-compression. For hard materials like aluminum foil, consider applying a wear-resistant coating to the die edge.
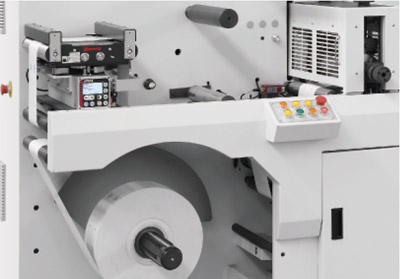
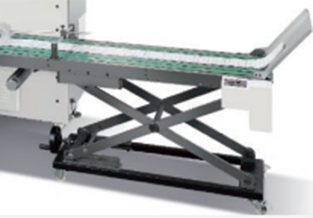
Practical tip: Start with the gap slightly wider than your estimated setting, then make incremental adjustments while running test cuts. It is easier to increase pressure gradually than to correct an over-cut that damaged the liner.
Proper material feeding is crucial as it directly affects the setup process and production efficiency.
Loading steps:
Load the material onto the machine's feed rollers, ensuring it is aligned correctly and not wrinkled or folded
Set the web tension appropriately—the material should have sufficient tension to ensure proper alignment
When connecting rolls, ensure the joints are well connected to ensure smooth passage; for adhesive materials, overlapping joints are recommended, while for base papers, aligning joints work better
Thread the web through the machine following the manufacturer's path diagram
What tension does for you: Correct tension keeps the material flat and stable as it enters the cutting zone. Too little tension causes wrinkling and misalignment; too much tension stretches the material, causing dimensional changes that affect cut accuracy.
For multi-color or multi-process label jobs, die registration must be precise. The Hongsheng rotary label die cutting machine addresses this with paper guide accuracy controlled at ±0.10mm across the full web width. Servo-driven systems can micro-adjust the registration point on every cycle, spreading wear across the whole circumference.
Registration steps:
Align the die position with the printed registration marks on the web
For products processed by multiple rotary dies, alignment includes both horizontal and vertical dimensions
The vertical dimension is controlled by adjusting the knobs on the die holders, which are locked after adjustment
Each rotary die usually has alignment marks, often designed as two perpendicular "┍" and "┙" marks that form a cross shape when aligned
Why registration precision matters: On a roll of 10,000 finished labels, a registration drift of even 0.3mm can send the last 8,000 labels to the reject bin. Consistent registration from first sheet to last is what separates profitable runs from costly rework.
Once all mechanical setup is complete, run a test section before starting full production.
Test procedure:
Run a short section of material through the machine at operating speed
Inspect the cut quality:
Are the labels fully separated from the matrix?
Is the liner intact?
Are the edges clean without burrs or tearing?
Is the matrix waste stripping cleanly?
Make incremental pressure adjustments based on test results
Run another test section and re-inspect
For self-adhesive labels, the die-cutting procedure in most instances is carried out with only a "kiss impression" pressure on the facestock. The goal is to cut the facestock and adhesive while leaving the liner completely untouched.
Waste removal—particularly matrix waste removal—is a key and challenging aspect of the rotary die cutting process.
What to verify:
The waste stripping pins or air blow system is functioning correctly
The matrix waste is being wound off separately without tension issues
Waste discharge holes are clear of debris
Waste discharge techniques commonly used include material strip waste discharge, pin extraction, needle push waste discharge, air blow/suction, and drop-off waste discharge. The best waste discharge results are typically achieved with circular waste of diameters ranging from 3- 10 mm. A cutter without integrated waste stripping forces the operator to pull the matrix off manually between jobs, adding significant downtime.
| Problem | Likely Cause | Solution |
|---|---|---|
| Labels won't separate from matrix | Insufficient pressure | Increase die pressure incrementally |
| Liner is cut or nicked | Excessive pressure | Reduce die pressure; check gap setting |
| Uneven cut quality across web | Die not fully seated on cylinder | Clean cylinder and re-seat die |
| Registration drift during run | Web tension inconsistency | Check tension control and dancer rollers |
| Matrix tears during waste removal | Improper waste stripping setup | Adjust stripping pins or air pressure |
| Burrs on label edges | Dull die or excessive pressure | Inspect die edge; regrind if needed |
Modern rotary die cutting machines increasingly incorporate features that dramatically reduce setup time and improve consistency.
Servo drive technology: Replaces a mechanical main shaft with independent motors for the die cylinder and the pull roll. On a servo-driven machine, the operator inputs the new cut length into the HMI; the servo motor repositions the die cylinder angle, and the cutter resumes cutting without any mechanical gear swap.
What this means for your setup: Gear changes that once took 15–20 minutes are reduced to a few keystrokes. For shops running multiple short-run jobs per shift, the cumulative time savings are substantial.
Touchscreen operation: User-friendly interfaces reduce setup time and operator skill requirements, boosting productivity. Operators can store job parameters for repeat orders, eliminating the need to recalibrate from scratch each time.
For converters seeking to maximize production efficiency, understanding how automation features impact setup and run performance is essential. Explore rotary die cutting machine solutions with advanced automation
Not all self-adhesive labels are the same. The setup approach should vary based on the specific label construction.
Paper labels are the most forgiving. Standard pressure settings and gap values typically work well. The main consideration is preventing adhesive buildup on the die—regular cleaning during the run helps maintain cut quality.
Film labels require more careful pressure calibration. Reduce pressure to 70–80% of the standard pressure for steel dies to avoid excessive edge wear from over-compression. The die should be sharp and free of nicks to prevent film tearing rather than clean cutting.
In-mold labels (IML) require extremely accurate die cutting to ensure labels fit precisely within injection-molded or thermoformed parts. Registration precision is paramount; even minor deviations can make the labels unusable in the molding process.
Specialty constructions with multiple layers or unusual materials may require custom die designs and specific pressure profiles. When in doubt, consult the die manufacturer for recommended setup parameters.
A successful setup doesn't end when the machine starts running. Consistent production requires ongoing attention to several factors:
Regular monitoring: Check cut quality periodically throughout the run. Pressure can drift as the machine warms up or as the die wears.
Adhesive management: Self-adhesive materials can leave residue on the die and anvil. Clean the die surface with a soft cloth dipped in neutral detergent to remove residual label paper fibers and adhesives.
Waste monitoring: Ensure the matrix waste is winding off cleanly. A sudden change in waste behavior often indicates a problem with pressure or stripping.
Documentation: Record the settings that work for each job—material type, die pressure, gap setting, tension values. This creates a reference library that speeds up future setups for repeat jobs.
The stability during the production process directly impacts both efficiency and product quality. Factors affecting stability include process-related factors and the skill level of the operator.
Once you have established reliable setup procedures for your typical job mix, comparing specific equipment configurations becomes the next logical step. Different label applications—from simple paper labels to complex film constructions—may benefit from different machine capabilities. For converters running high-volume paper label work, a full-rotary configuration may be ideal; for shops with diverse short-run requirements, the semi-rotary flexibility of servo-driven systems offers significant advantages.
Rotary vs. Flatbed Die Cutter for Labels – Which One Actually Fits Your Production Mix?
Understanding Semi-Rotary Die Cutting: When Variable Repeat Lengths Save Tooling Costs
Common Rotary Die Cutting Problems and How to Solve Them
Label Material Guide: Matching Die Cutting Parameters to Substrate Type
5 Signs Your Label Finishing Line Needs a Die Maintenance Audit
This article is part of Rhyguan's technical content library. No direct sales or pricing information is included. All technical discussions aim to help you make informed purchasing decisions.
● Another PLUS-330 Machine Installed in Latin America
● Another Two Installations at Customers’ Site
● Rhyguan Plus Month
● Top security level in Rhyguan
● Another Rotary Die-cutting Installation at Cutsomer’s Site
● Perfect Factory Acceptance Testing for Label Inspection Machines
● New Rhyguan Factory Preview
● Rhyguan Industrial 4.0 Live Presentation
GET A QUOTE